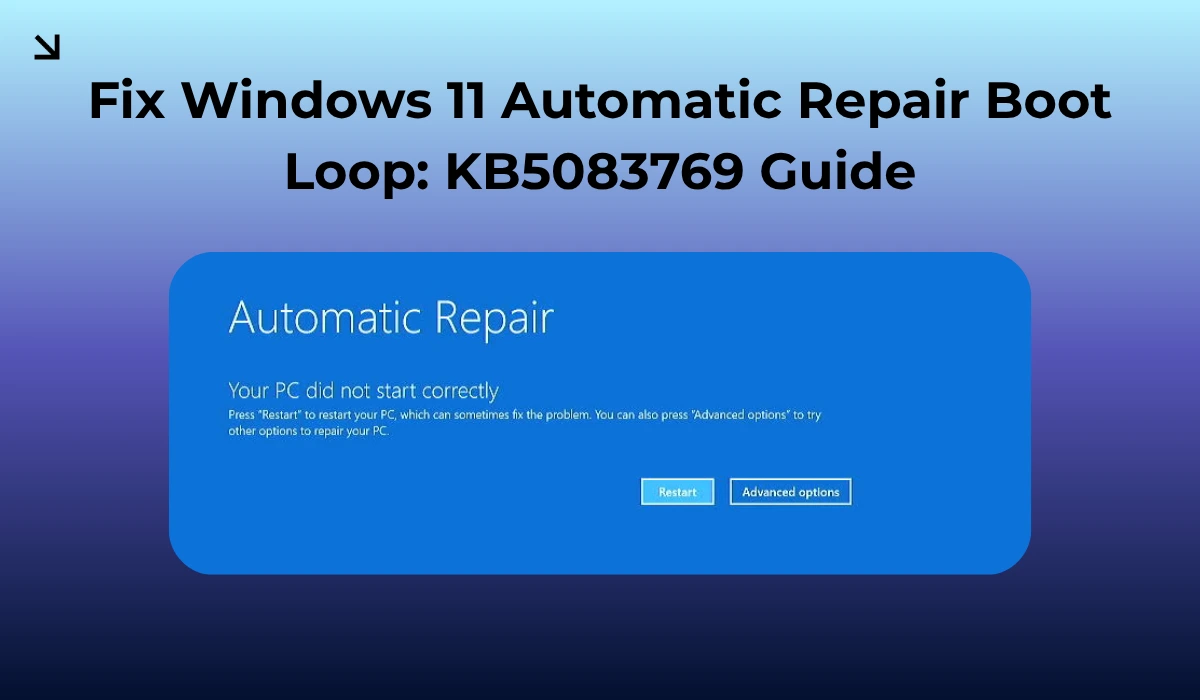
[EMERGENCY TECH ADVISORY]: As of April 2026, many Windows 11 users are facing random boot loops, especially users with Dell/HP systems. If you are one among us, don’t panic; it is a Windows Update issue with the latest KB5083769 Security Update. If your screen is looking like a pixelated mosaic or getting stuck in an endless Automatic Repair screen, worry not; it is just a conflict between the new Secure Boot certificates and OEM firmware.
I audited the failure logs, like I always do, and I was expecting the automatic repair to fix it on its own. Windows Automatic Repair is really powerful; it has saved me a lot of times before, but this time, even the Automatic Repair failed, forcing me to explore it more.
Turns out, the update has already locked the bootres.dll, and that’s why the Automatic Repair failed to fix it. You need to bypass the UI and head straight to the command line.
Entering the Recovery Environment
To enter the recovery environment, you need to force Windows into the Advanced Recovery Environment (WinRE). This also helps when you can’t get past the boot loop.
- Power on your PC. When you see the HP/Dell logo, hold down the power button for 10 seconds, and it will turn off your PC.
- Repeat the same for 3 times, until Windows triggers the Preparing Automatic Repair screen and takes you to a Blue Choose an option screen.
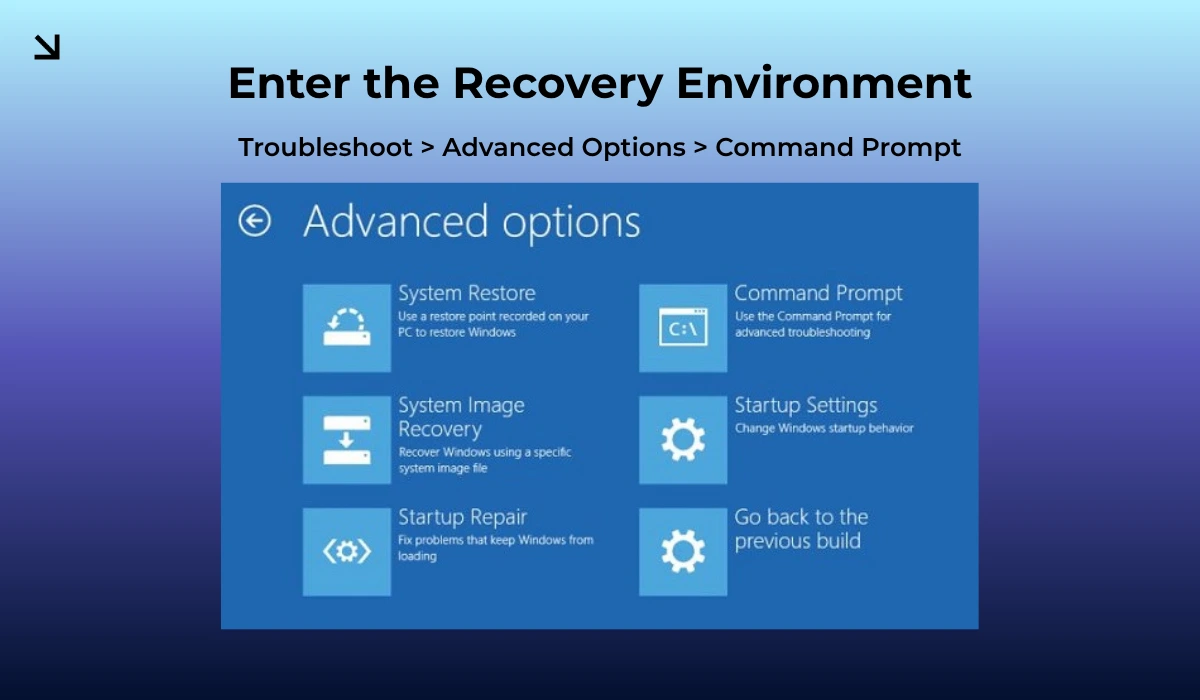
Now, go to Troubleshoot > Advanced Options > Command Prompt.
The Manual Rollback
Even if you somehow manage to get past the boot loop and are on your desktop screen, you still can’t just uninstall updates with a click, like how it normally works.
If you happen to click on the uninstall updates option, it will just show an Undergoing maintenance error.
The only way forward is to force it via the command prompt (CMD).
Once you are in the CMD window, find your directory where Windows is installed; it can be C, D, E, F, or anything, but in most cases it is C.
Type dir C: and hit enter. If you see Program Files, you’re in the right place. If not, try D or E.
Once you know where your Windows installation files are on your PC, we are assuming it to be C. Just paste the exact command in CMD and hit enter.
dism /Image:C:\ /Remove-Package /PackageName:Package_for_RollupFix~31bf3856ad364e35~amd64~~26200.8246.1.7
(Note: If the PackageName differs, use dism /Image:C:\ /Get-Packages to find the package which is labeled as KB5083769 and copy that string.)
BitLocker Locked Out Workaround
If you’ve been using BitLocker, you will see a prompt for a BitLocker Recovery Key before you hit the command prompt. This happens when the update triggers a PCR7 binding mismatch.
If you remember the key, just type it to unlock it, or suspend it if the command prompt is accessible. Type the exact code mentioned below to suspend it.
manage-bde -protectors -disable C:How to fix the Pixelated Screen Bug
Are you facing a mosaic of weird pixels issue while you boot up your system? This is because of a corrupted display driver, which was likely caused by the update when the KB5083769 security update interacted with your integrated graphics.
To fix this issue at once, follow the steps mentioned below.
- Boot to the Advanced Options menu following the “Entering the Recovery Environment” step.
- Now, select Startup Settings > Restart.
- Press 4 or F4 to enter safe mode.
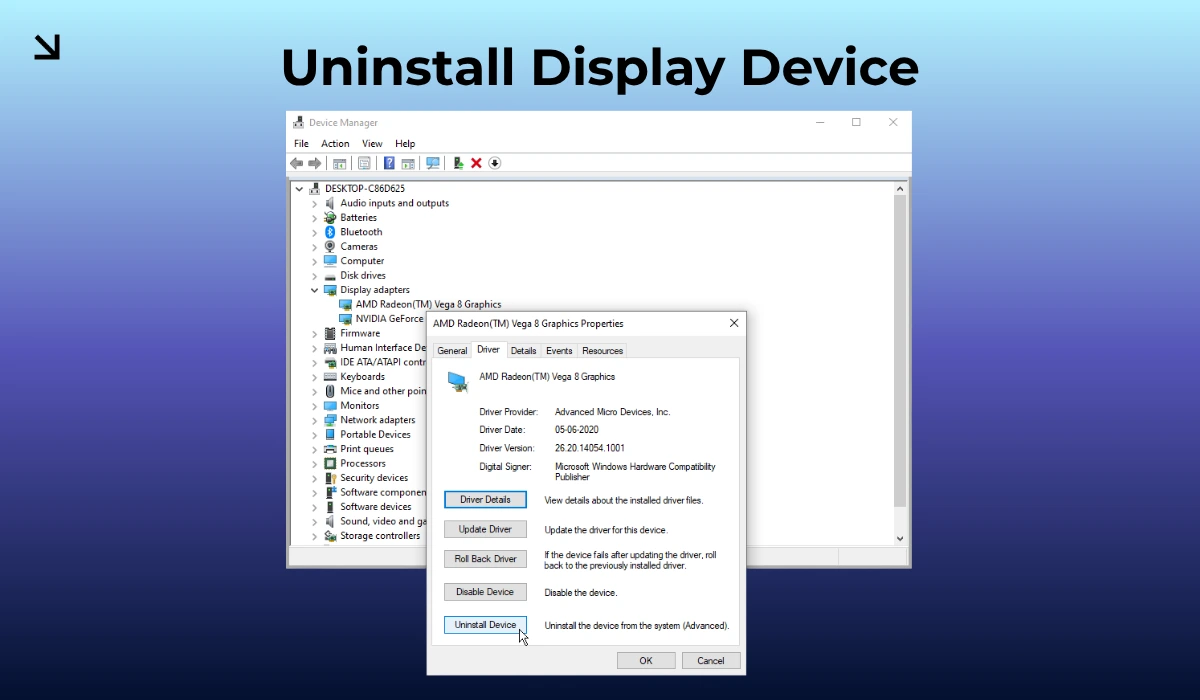
- Once your PC boots in safe mode, right-click the Start button > Device Manager.
- Under Display Adapters, right-click your Intel/AMD graphics and select Uninstall Device (Check “Attempt to remove the driver”).
- Restart your PC.
When Windows reboots, it will load a generic driver for the display adapter, which will break the loop and fix the pixelated issue.
How to Stop the Bug from Returning
Once you’ve fixed your PC, you are still in the danger zone. Windows will try again to install the updates that you just reverted.
To stop Windows from automatically updating, you can stop the updates by going to the Windows Update option from settings and pausing updates for 5 weeks, or you can just get an executable from our WIN-DEBLOAT tool and execute it to immediately apply changes.
-
Head to the WIN-DEBLOAT tool.
-
Uncheck everything, look for Stop Windows Updates, and make sure it is checked.
-
Now, click on the Compile Option, which will guide you on how you can apply the changes.
Once it is done, you are officially safe and protected from the buggy update. Now you just need to wait till Microsoft releases an official fix for it in the latest update.