Originally published by Nibir Kr Dutta in September 2023 | Updated & Co-authored by Abhishek on April 10, 2026
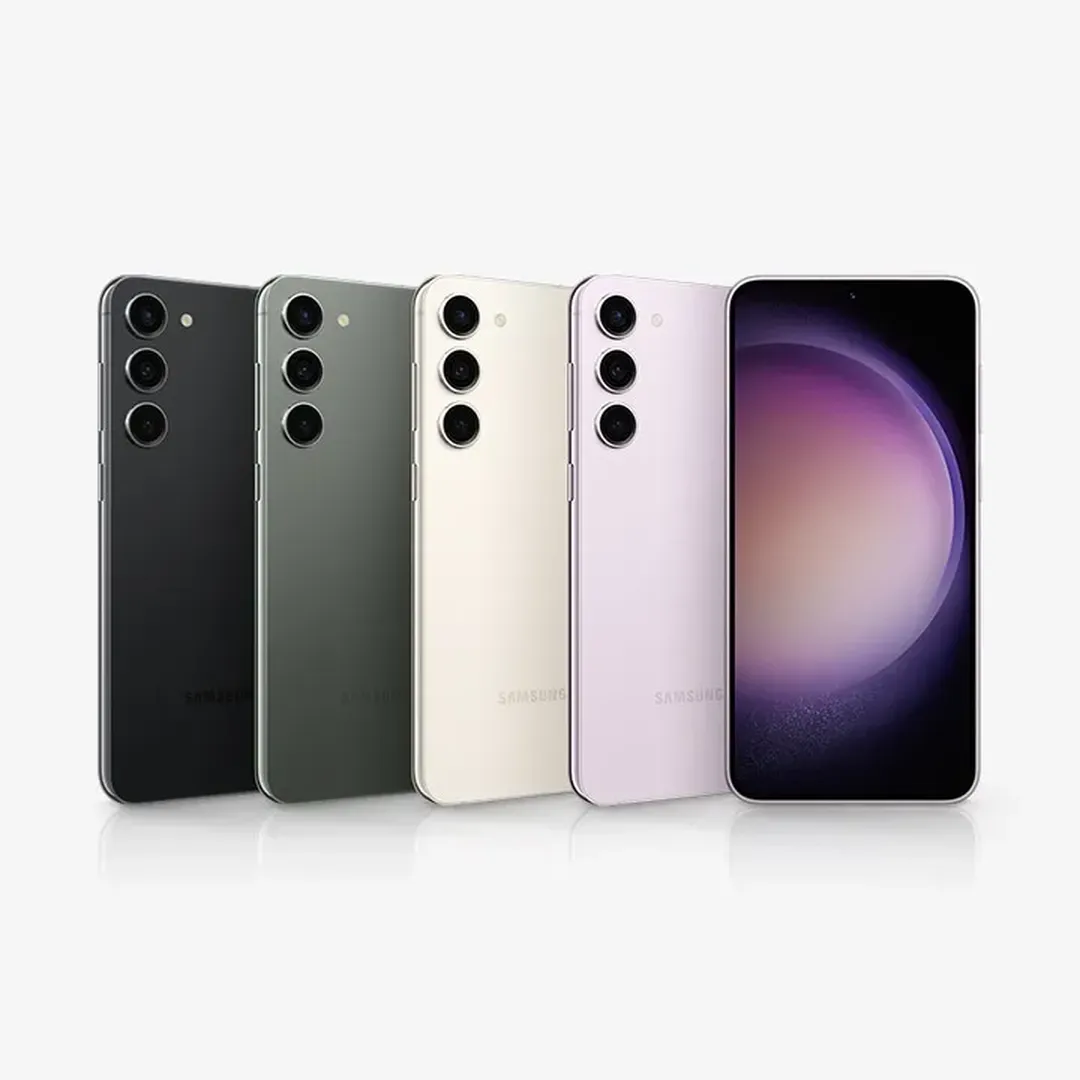
Apart from the fact that many new Pixel devices are a little better than their predecessors, the Pixel 8 and 8 Pro are still powerhouses in 2026. As apps have become more resource-hungry over time, they tend to put a little extra stress on every processor.
![]()
The Tensor G3, which is an exceptional chip by the way, does suffer from keeping up with all the power-hungry apps.
Having years of experience in Android Development, I will list a few advanced optimizations for the geek who can go far beyond to make their pixel last a day.
Note: You don’t need root access to apply these.
Quick System optimizations
Here are a few quick system optimizations that will surely give you a few extra hours of backup.
AOD (Always on display): People love AODs, but it also consumes more power. If you want AOD with a little bit of compromise, then you can just head to Settings > Display > Lock Screen and enable “Tap to Check Phone.” This keeps the screen 100% off until you actually need it, saving up to 10% of battery over a full day of usage.
Resolution vs Refresh Rate: Pixel 8 offers a native QHD screen option, which is exceptional, of course, but it also requires more power to run. If you are someone who has no issues viewing a 1080P screen, then you can change the resolution to 1080p and set the Refresh Rate to 120Hz for a smooth UI experience.
Android 16 App Hibernation: If you are on Android 16, you can take advantage of a really useful feature, which is App Hibernation. It was there in even previous OS versions, but in Android 16, it is much more aggressive now.
To turn this on, go to Settings > Apps > Unused Apps and make sure “Remove permissions and free up space” is toggled for every app you don’t use daily.
Expert Level Fixes
Here are a few expert fixes that you can try for extra battery backup.
5G Battery drain
Your pixel’s modem, powered by the Tensor G3, can be extremely power-hungry if you are in an area with a spotty 5G signal. To prevent battery drain, you can switch to LTE/4G for a better battery backup, as the modem will stop searching for a weak 5G signal.
- Dial *#*#4636#*#* and head to Phone Information option.
- Now click on Set Preferred Network Type to NR/LTE.
(Note: If your location has good 5G Coverage, then you don’t need to change network type.)
ADB Power Audit
Using ADB, you can actually see what is putting stress on your CPU. This will help you find the app or service (if any service or app is draining your battery more than usual).
First, you need to unlock developer options on your Pixel device. Follow the steps below.
- Go to Settings > About Phone
- Scroll to the bottom and tap Build Number seven times. You’ll see a toast message saying, “You are now a developer!”
- Enable USB Debugging
- Head to Settings > System > Developer Options.
- Scroll down to USB Debugging and click on it to turn it ON.
On your PC, download and install Minimal ADB

Note: Save the path where you install the ADB files, as you will need to navigate to that folder and click on cmd file to open the CMD which can rub adb commands.
- Now plug in your phone to your PC, and open the CMD Window.
- Now type
adb devicesand hit enter.
![]()
- Check your phone! A prompt will appear: “Allow USB Debugging?” 3. Check the box “Always allow from this computer” and tap Allow.
- Run adb devices again. It should now show your device serial number, followed by the device.
- Once your phone is displayed in the CMD window, copy and paste this and hit enter.
adb shell dumpsys batterystats --charged
It dumps a massive text file of everything that has happened since your last full charge.
Look for “User wakeup”: Search the output (Ctrl+F) for the word “wakeup.”
The Red Flag: If you see an app like “Facebook” or “Weather” with 2,000+ wakeups over 12 hours, that app is bypassing Android’s Doze mode. It’s literally poking your CPU to stay awake.
What is the ID of an App?
Every app on your Android phone has a unique identifier, which is usually named in a reverse-domain format (e.g., com.developer.appname). It acts like a social security number for software; you need to know the ID of an application before you force-optimize it.
Here’s how you can know all the IDs of apps installed on your phone.

Type this command to see everything:
adb shell pm list packages
Or you can also use a filter to search. Below are the codes for CMD.
adb shell pm list packages | findstr "facebook"
After you search, you will get a result package:com.facebook.katana. Everything after the colon is what you need for the optimization command.
Force Optimize Aggressive Apps
If you happen to find an app that is aggressively using your battery, then you can force the ART (Android Runtime) to recompile that app for maximum efficiency on your Tensor chip.
adb shell cmd package compile -m speed-profile -f [package.name.here]
(Note: Remove the brackets when typing your package name).
Reset the stats for a fresh start.
Now that you’ve optimized the battery consumption of the apps, you need to clear the data or cache so that you can see how well your fixes are working. Paste the code below in your CMD window and hit enter.
adb shell dumpsys batterystats --reset
Private DNS
Constant ad-tracking pings are a silent battery life killer. During ad tracking, the radio runs every time an app tries to load a background tracker.
- Head to Settings > Network & Internet > Private DNS.
- Select Private DNS provider hostname and enter: dns.adguard.com
Usage of High Resolution instead of Full
- First, open the Settings app on your device.
- Tap on Display.
- Tap on Screen Resolution.
- Lastly, select the High-Resolution option.
Limit the Background App refresh
To limit the Background App refresh on your Pixel 8, just follow the steps below:
- Launch the Settings app.
- Tap on Apps & Notifications > See all Apps.
- Now, tap on the app that you want to limit the background refresh for.
- Tap on Mobile Data & WiFi.
- Next, turn off the Background Data toggle.
- If you do the same for some other apps, this might help you manage your battery drainage percentage.
Use the Dark Mode
This might be a little concerning for many users because it is appropriate to use the Dark Mode at all times to save power. In any case, if you do want to use the Dark Mode on your Pixel device, follow the provided steps below:
- Launch the Settings app.
- Tap on Display
- Then, tap on the toggle next to the Dark theme under the Appearance tab.
Monitor your Battery Draining Apps
Check if any of the apps that you have installed on your Pixel 8 series are misbehaving or creating any issues with the device. If you want to uninstall or optimize the apps, follow the steps:
- Launch the Settings app.
- Tap on Battery > Battery Usage.
- Now, see if any app/ apps are misbehaving.
- If there are any apps, then just head to Settings.
- Tap on Apps & Notifications > See all Apps.
- Tap on the app that is draining the battery faster.
- Tap on Battery Usage and turn off the toggle next to Allow Background activity.
- To remove the app, tap on Uninstall.
- Lastly, tap on OK to confirm it.
Tip
If your battery graph shows cell standby usage over 15%, your issue is likely network-related. And if you notice that your System UI is high, it is likely due to a corrupted cache or a heavy wallpaper/widget.